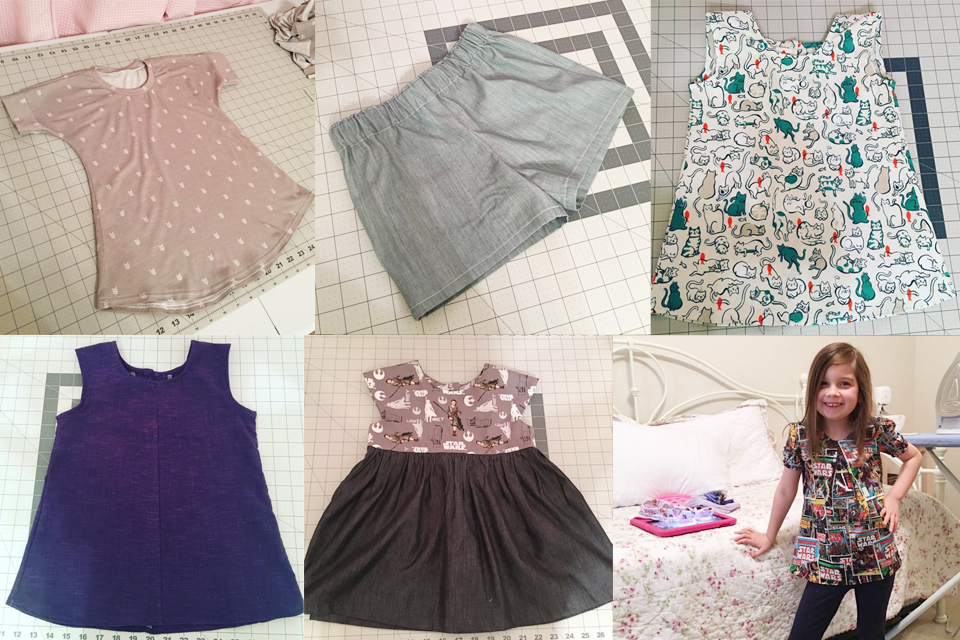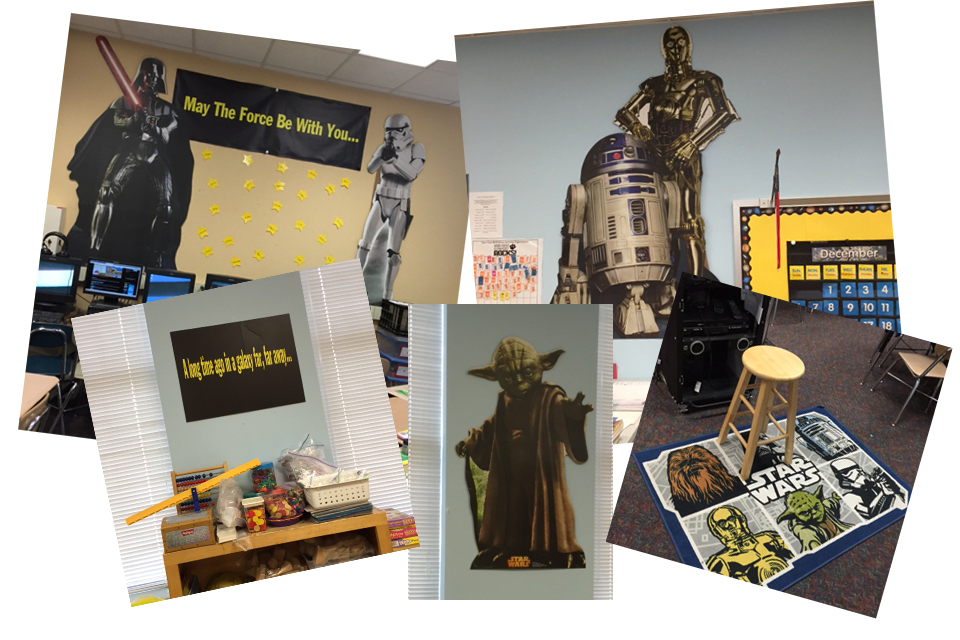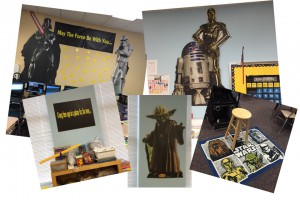
Mom’s Classroom
My mother teaches 3rd grade and decided that this year she would decorate her entire classroom with Star Wars items, which is pretty freaking awesome if you ask me. When I got back into sewing, she asked if I could make her a Sith robe to wear to school for December 18th, when The Force Awakens is released (officially anyway). This isn’t a request I take likely. I researched the best methods and techniques used by cosplayers and the 501st to make this robe. It was a huge undertaking, and the construction alone took about 6 hours to complete. This is partly due to my newb-ness at building a Sith/Jedi robe and also because I had to make my own pattern based on a post I found on the Rebel Legion website. It was very helpful toward getting me started, though many of the people posting were considerably taller than us, so some modifications were necessary (putting it lightly, they’re a freaking foot taller than us).

Pattern Making in Progress
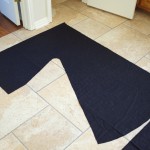
Since my mother is several states away, we had to use my measurements. My husband was gracious enough to drop Elite Dangerous for a hot second to help measure me. The robe is roomy enough to provide for a varying degree of sizes. I would say this classifies as a “small” or “Disney fairy actor material.” We measured my neck to arm (29″), then neck to feet (51″) to get started. Then I just followed the tutorial from poster EeanLedgor to get the basic shape. The idea is that the sleeve be on the fold and the rest gets cut outright. You need at least a 54″ nap, if not more.
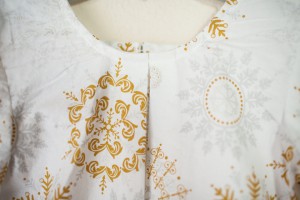
Since most of these robes are meant to be made in wool, that was way out of the price range. We landed on a nice black linen/rayon blend by Kaufmann. I picked it up for $6.48 a yard from Fabric.com during their Black Friday sale. It will drape nicely, but the only issue is that the hood would flop and not have structure (as I noticed in the second attempt by another poster in that tutorial thread). I opted to line the hood with satin, then also apply a layer of interfacing. This gave structure to the hood so it would stand away from the face like you see in the films.
Sewing Tip: Make sure to use charcoal or black interfacing when using darker fabrics, because the interfacing can show through on looser weaves such as a linen! (Don’t ask how I know that, just take it as sage advice)
-
-
Pattern Helper
-
-
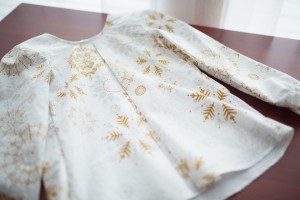
Folded Neatly
-
-
Phew… cutting
-

-
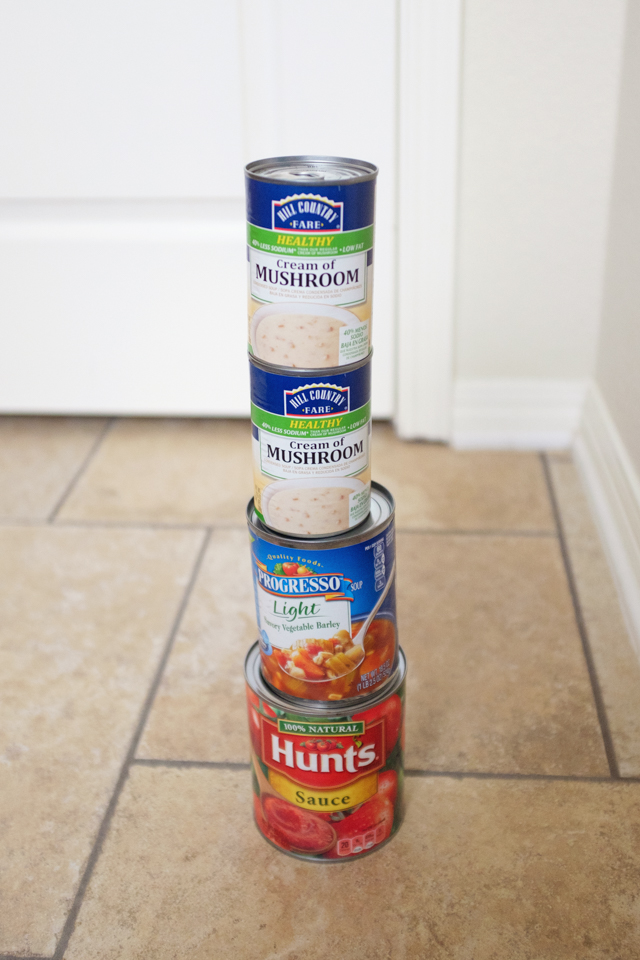
Creative Pattern Weights
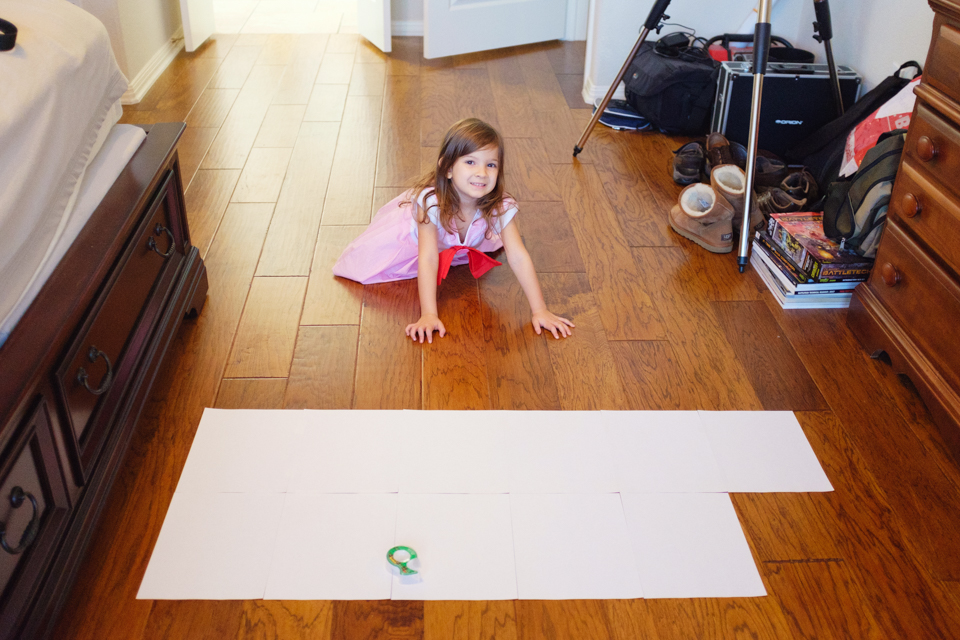
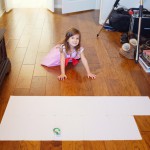
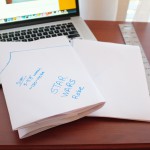
For pattern-making like this, I tend to use computer paper. I know… *gasp* right? I’m killing trees, but I’m saving my sanity at the same time. See, the thing about taping these pieces of paper together is that it will neatly fold right back up into a single sheet-sized pile. I can then put it into a folder and store it for later, then unfold as-needed without fussing with tissue creases. I also don’t buy into the $15 pattern weights that you can pick up at chain craft stores. Just get some cans of whatever you have sitting in your pantry and put it to good use.
It took me the longest time to cut out the fabric… probably an hour. This was because I was stupid and didn’t factor the hood size into the math for ordering the fabric. Thankfully, I was very precise and had enough to cover this one robe, which was 7 yards, mind you. Five hours after that, I’m sewing in the clothing label and calling it quits. It was a very fun project. I’d do it again, but not too soon after this one as it took an entire Sunday afternoon to complete. The saving grace of the whole thing was using my serger to do the heavy lifting. I sewed the hood with the sewing machine, but the rest was all good sweet serger lovin’.
Lessons Learned:
- Linen/Rayon blends are lovely and have a fabulous drape. They flow when you walk, like a Sith with a big attitude; however, they also shed a lot, so be prepared to vacuum your sewing machine or serger a LOT. They are also very lightweight. If I hadn’t had lined and interfaced the hood, it would have just sagged horribly.
- Don’t forget to increase stitch length on the serger when you’re about to go over a chunky area. It didn’t like that very much.
- A very small 1/4″ hem would have been cleaner for the bottom since the a-line gave a curved edge and there are tucks in my interior hem along the bottom. Fabric’s black so… yeah no one will see it anyway.
- Get gud at math before buying fabric.
Things I’d Change for Next Time:
- Don’t use satin as the hood lining. It’ll slip right off your head. I mean, the Sith/Jedi robe isn’t supposed to sit right on your crown anyway. It was always meant to hang over your eyes to disguise you (weird, since the robe totally screams “hey look, Jedi over here!!!” in the films). I went with satin originally so it wouldn’t mess up her hair while at school. Still a good decision on that note, but she’ll have to pull it forward quite a bit to stop it from slipping back.
- If you’re going to use a lightweight, flowy fabric like the linen blend, make sure that you line with the same fabric as your main and use a lightweight interfacing across the whole thing, otherwise it just won’t sit right when you pull it up. Actually, it’ll just flop and look like something you bought at Party City. I skipped interfacing down the center, because I’m stupid and didn’t buy enough interfacing. So the front-center of the hood flops down while the rest stands away from the face as you’d expect. But really, how often do people who cosplay, much less my mom in a classroom, going to keep that damn hood up 24/7? Probably not often except for pictures. Have you ever been to a con before? It gets hot fast… and nasty smelling.
- On the note of fabric selections, possibly just using a medium-weight poly/cotton twill like this one at Fabric.com would be better. No need for a lining, though flat-fell seaming would be king here to make your ends look clean (note to self: practice flat fell seaming). The polyester (so evil) will provide a nice drape in addition to being wrinkle-resistant. Mystik Merchant has some lovely fabric guidelines on her site as well, which sort of echo this secondary thought.
- Decrease the hood height. 27″ was way too high. I think a nice, square 25″ x 25″ like the second, female Jedi cosplayer posted would have been good.
- Possibly re-draft the hem area so it doesn’t create such a harsh curve when being hemmed — the hem required tucking, not pretty at all and I’m not proud of that part.
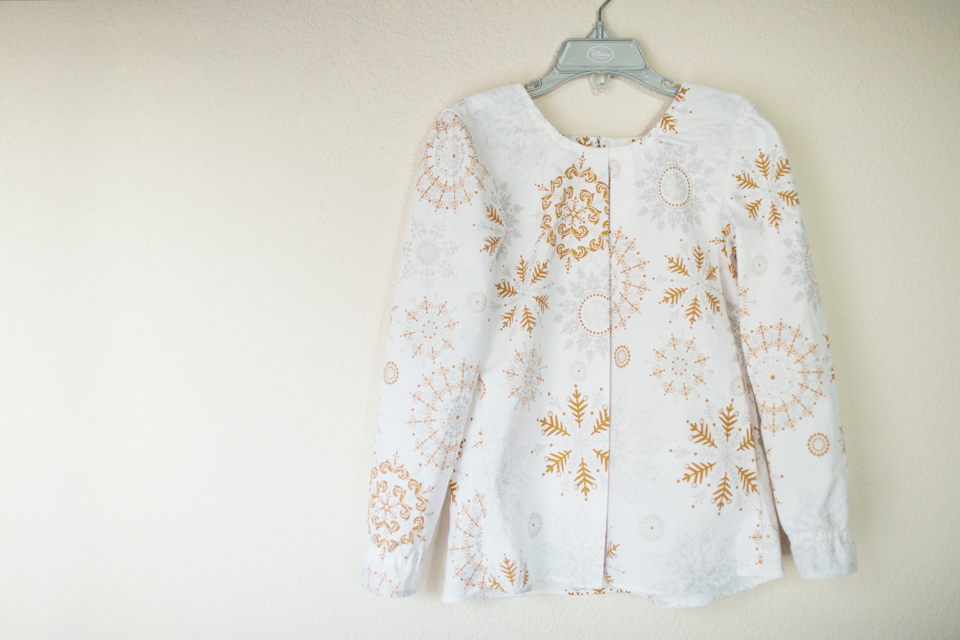
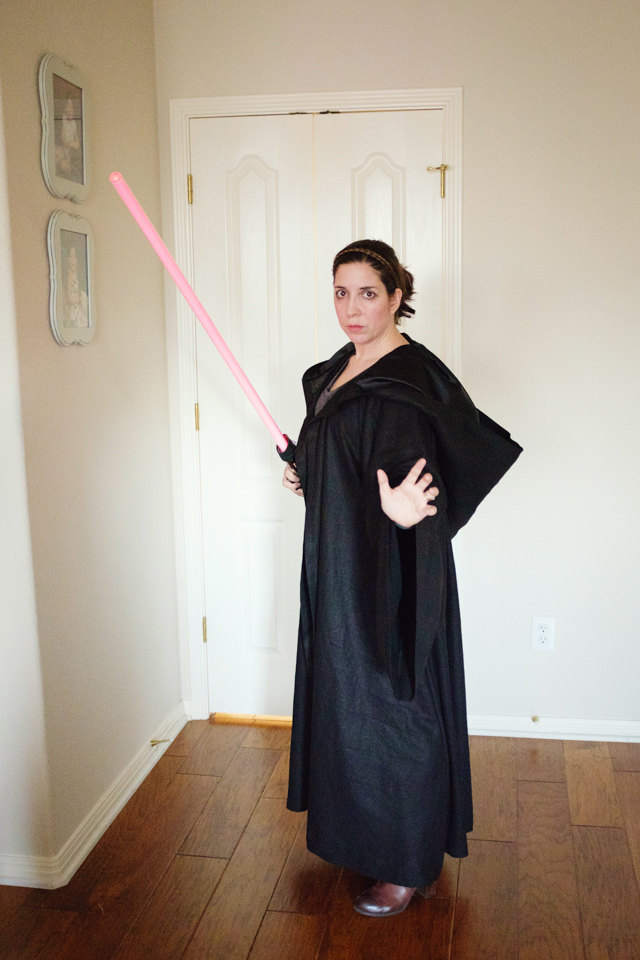
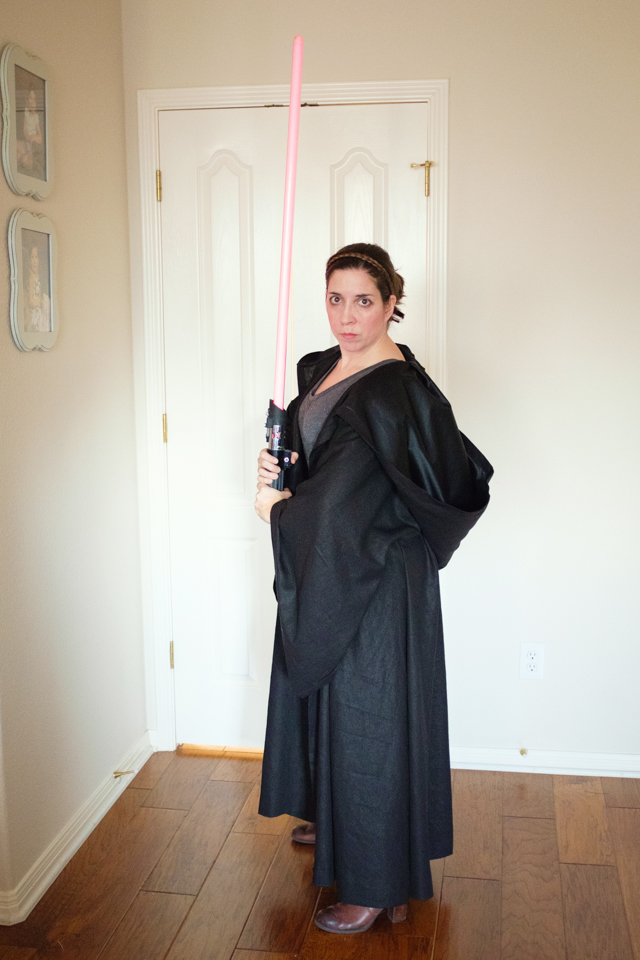
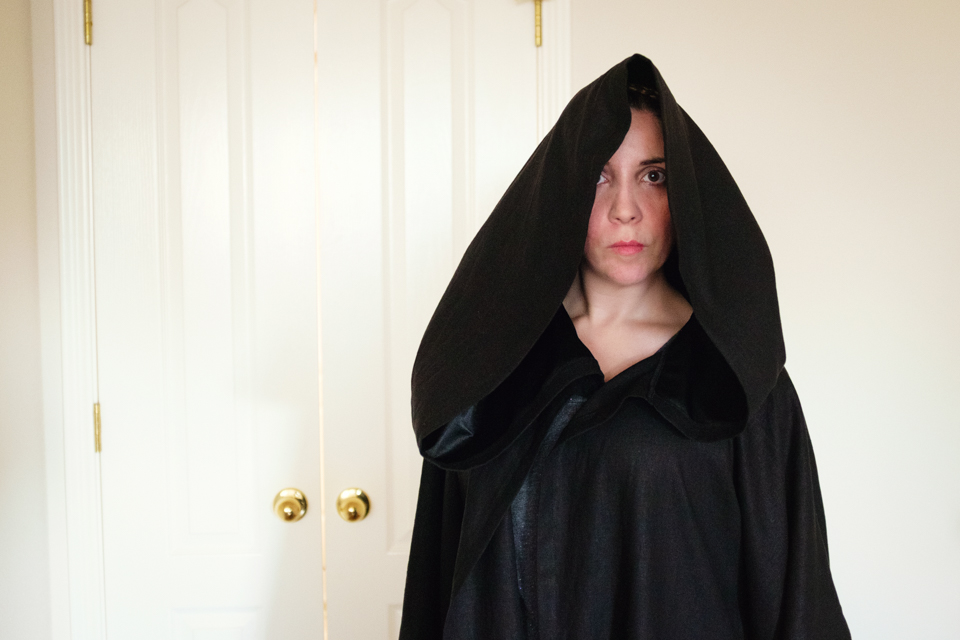
Oh you probably want pictures though. Here you go:
-

-
Fear me, for I have a wavy hand and half-assed makeup!
-

-
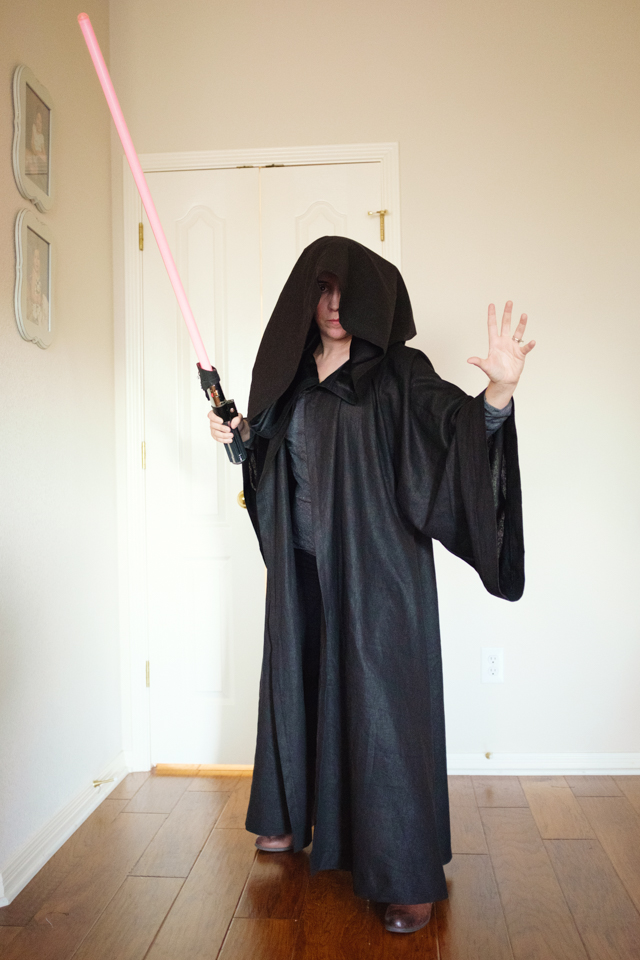
Rawr!
-

-
This is actually how the hood is meant to be worn.